The perfect place for campfires and barbecues is created from stone slabs, bricks, mortar and ready-mixed concrete.
We still had the daily grind of our city apartment under control when my husband and I painted our own house in every detail. We spent a lot of time making plans for our future home – we had particularly heated debates about barbecues and fire pits.
One day the time had come: we had gone under the house owners and our dream of a fireplace was to become a reality. But before we started building them, we had to make some decisions. In which corner of the garden should fireplaces be built, how big should it be, what stones should we build it from – and what would it cost us? I wanted to clarify all of this beforehand. I did my research online, but the information I needed was not easy to find. So I decided to write my own instructions. This article is the result.
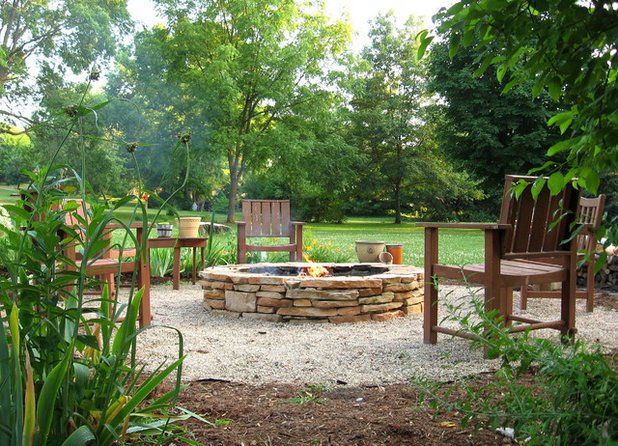
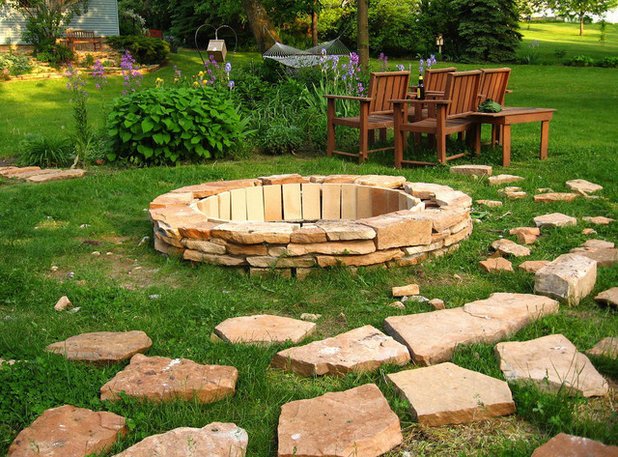
This is what the fireplace looks like when it is finished. I put the picture at the beginning – not only because it looks more interesting than a pile of stones and a few bags of cement, but also so that you can get an idea of what you will be rewarded with in the end if you follow my instructions.
Material:
- Ready-mixed concrete: 4 to 5 bags (25 kg each)
- Mortar: 5 to 6 bags (25 kg each)
- Gate steel (reinforcement steel): 10 bars, each 50 cm long
- Sandstones (flat): approx. 700 kg
- Refractory bricks: 50 pieces
aids:
- safety goggles
- tube
- wheelbarrow
- chisel
- mallet
- Work gloves
- patience
- Painkiller
Dimensions: About 1.50 meters in diameter and a good 50 centimeters high – a fairly large fire pit. Adjust the numbers to the conditions in your garden.
Costs: approx. 500 euros
Before we started building, we took another look at the garden from different angles to find out where the fireplace best suited the garden. We made a mark there by attaching a can of chalk spray with string to a stick and then drawing two large circles like a pair of circles, which together form a ring. Here we wanted to wall the boundary of our fireplace.
After the space in the garden was marked, we knew where to pour the foundation and started building. Frankly, we made a mistake: We have simply not dug deep enough and will probably feel the consequences at some point. We thought that 20 centimeters were enough – later I read that the foundation should be up to one meter deep, because otherwise it might not be winterproof.
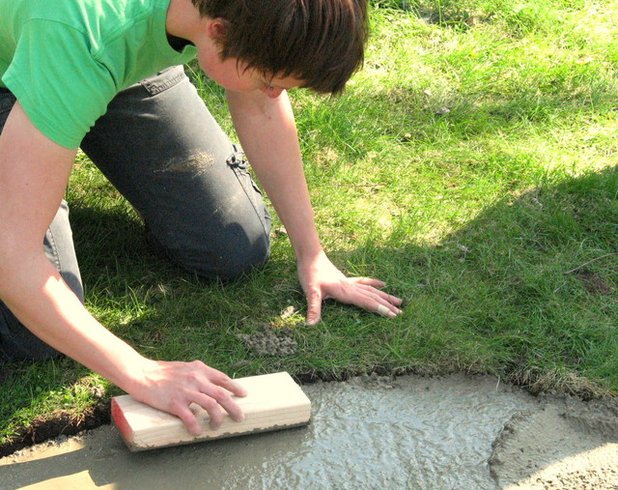

Probably the foundation should have hardened completely, but I didn’t wait that long. There were hardly any instructions on the subject at the time, and I had to improvise a bit. Hopefully, those who follow my example can learn from my experiences and don’t have to repeat my mistakes!
After pouring it in, I let the concrete harden a little. In the meantime I sorted the stones: large stones on one side, flat stones on the other. If a stone fell into my hands that I wanted to have as a foundation stone, I would put it aside. The small wall around our fireplace should be made of stones of different heights, but the bottom row should be flat. I chose stones with slightly curved shapes so that I could better make a circle out of them.
Tip: If you have an influence on the selection of the stones – for example in the quarry – choose the flatest possible specimens, then they have less to deal with bumps.
After the basic row was laid, I let the concrete harden for a few days. Then I started piling up the rows of stones, a few stones at a time, and looked to see if they matched. I took a little time for this in the morning before I went to work. I did about a third of a row each morning.
When I had arranged the stones so that I liked them, I put them aside. I was careful to follow the order carefully. Piling up the stones was the most difficult part of the job, it took me a lot of time. My recommendation: Don’t go too perfectionist.

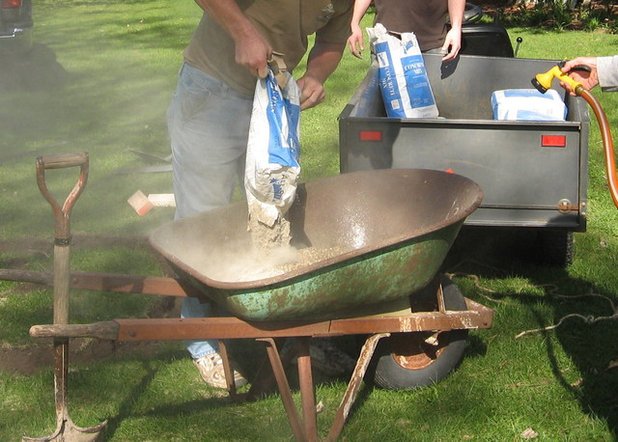
Then I mixed mortar in small portions and always applied as much of it as I needed for each stone. It is important not to overtake yourself when mixing mortar – only mix as much mortar as you can process in a short time.
Tip: If you are like me and you don’t have several days in a row, take care of your lawn. It suffers from the dropped stones, so it’s best to store the material in a more suitable place.
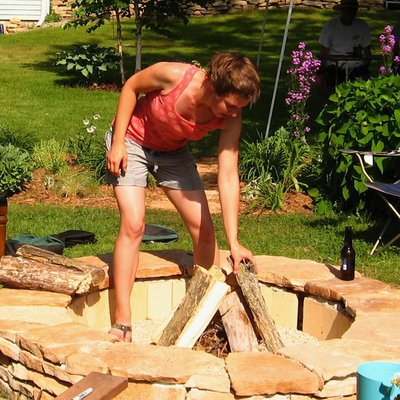
It was difficult again when I approached the top row. On the one hand, the stones had to fit next to each other (a chisel helps to adjust them), on the other hand, it now became clear what consequences my dream of the different height stones required. It looked really great, but it was all the more difficult to achieve a uniform degree in the end! At the time, the project was something of a puzzle – not just horizontally, but also vertically. The fact that there were still enough stones of different thicknesses made this task much easier.
In this photo, the fireplace is only missing the final row. I placed the refractory bricks in the inner circle and bricked them up. In doing so, I made sure to leave ventilation holes free. At the end there were three narrow openings, which should provide air circulation. That would be my point today save if I had to build a fireplace again. You can hear the tip with the ventilation holes again and again, but an additional air flow is not necessary for a fireplace of this size.
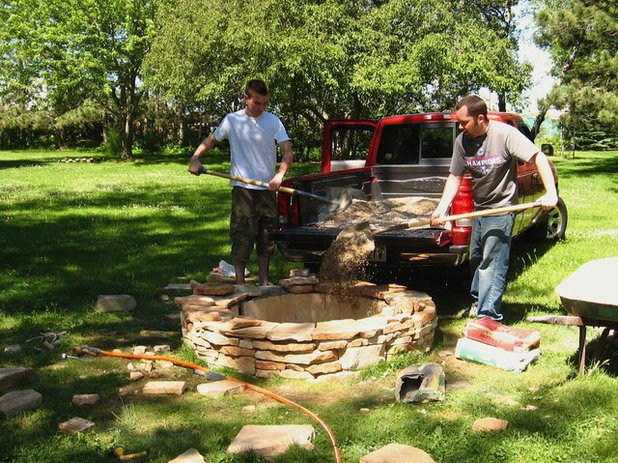
It was almost done! My husband and brother shoveled fine gravel into the middle after I removed the rest of the grass.
Now I should mention that it took some strength to get to this point. My muscles were well trained after that. If this idea discourages you, you may want to think about it again with the homemade fireplace in the garden. 700 kilos of stones are not entirely without – especially when you are working at ground level. And that’s exactly why you will find pain relievers in my material list …
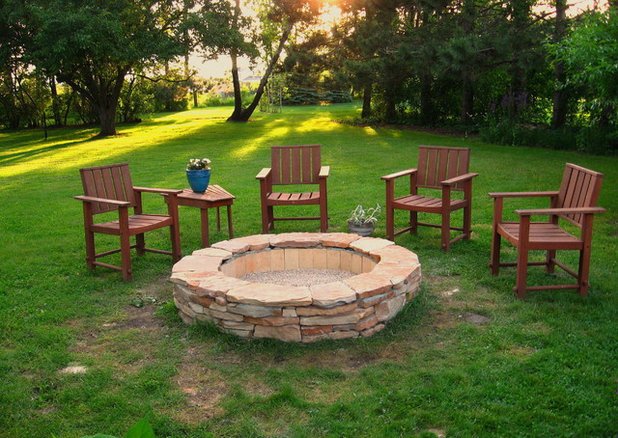
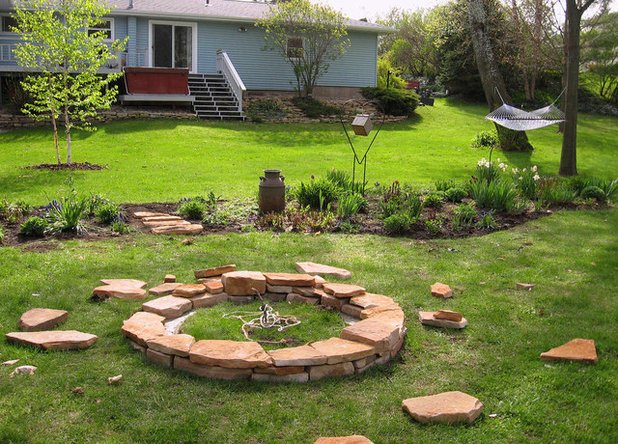
For the final row, I had saved a few particularly flat and large stones. Nevertheless, I still had to go to my stone dealer two or three times until I really got the right pieces together. A few hours later the fireplace was finally finished! On this picture you can see how badly the lawn suffered during construction. In our case, this saved us work, because at the end I still surrounded the fireplace with gravel, so I had to remove the lawn anyway.
Tip: If you buy the stones, you’d better take a few more than you might need. It is important that you have enough choice.
I was a little nervous when I inaugurated my fireplace at a garden party with about 30 guests. Until then, I was not aware of the fact that I had to climb in to pile up the logs. It was only on that day that I realized how big the fireplace was.
Tip: For us, the large fireplace fits our garden exactly. However, always keep an eye on the overall size of your garden in the planning phase so that the spatial dimensions are correct.

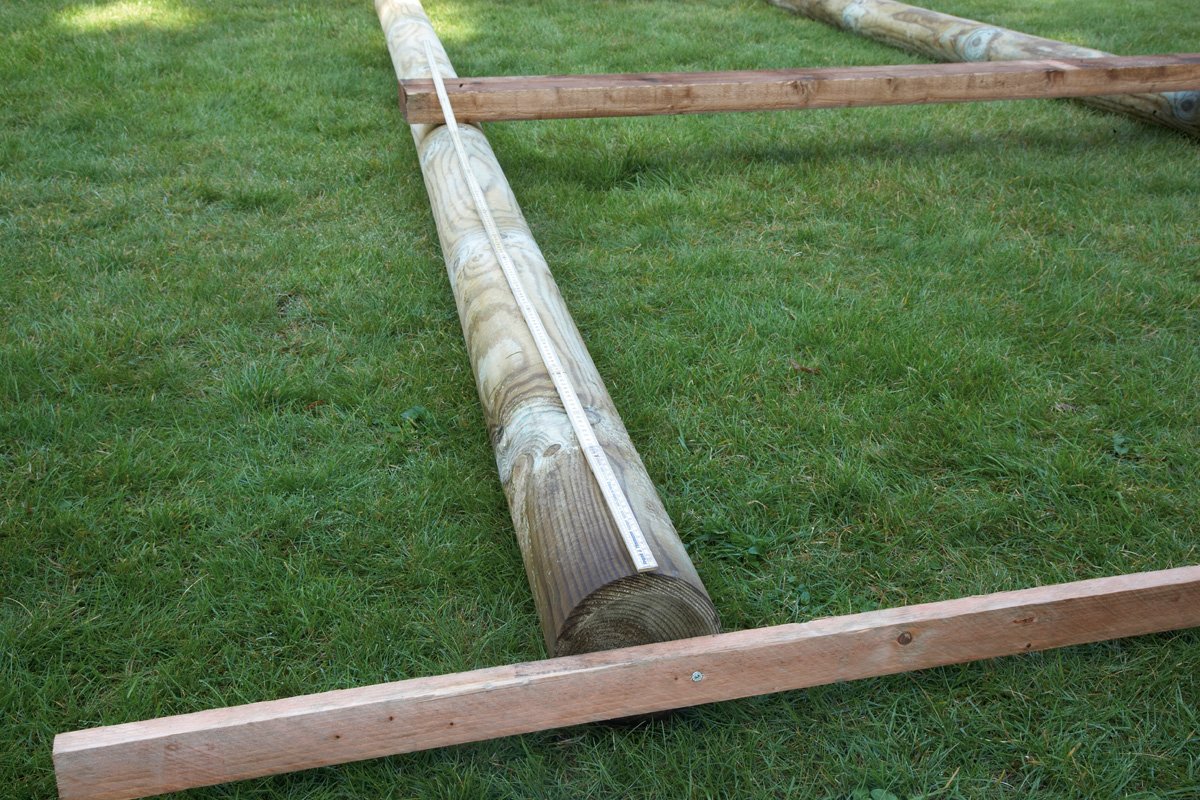
A few parties later the second round of the project began: the design of the seating circle. To mark the border, I went back to the tried and tested circular method with chalk spray. I lifted the floor about ten centimeters deep and put cut garden fleece on it. Fortunately, the soil in our garden is pleasantly loose – if you have loamy or stony soil, this task can be a little more strenuous. Perhaps you invite a few friends over and then reward them with a small party?
Tip: It is best to think about where the excavated soil should be stored beforehand. This can result in more than you might think.

Then we filled the place with fine gravel. We had also made this stage – autumn was coming, the days were getting cooler, and I was glad that we had finished building before winter.
At some point we may still have the gravel with a to replace more beautiful material, but at that time our budget didn’t allow for anything else. Feinkies does not have the best reputation – I have often read that it sticks to shoes, is dragged into the house and is not so easy to keep clean. But the gravel has not caused me any problems so far. The distance to the house is far enough, so he cannot get into the apartment. In summer, I only wear sandals to which it does not stick. And what is blown onto the stones in autumn is quickly removed with a leaf blower.
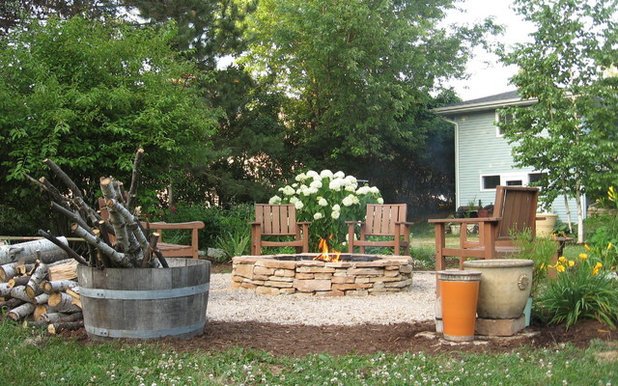
In the spring we overhauled the entire garden thoroughly and I was able to devote myself to the project again for a few days. We removed more grass and placed another outer ring around the fireplace with bark mulch. A large wooden bucket holds larger branches, and a stack of logs is always within reach.
In the future, our fireplace will be a little more homely. I plan to plant a few shrubs, and wildflowers in shades of yellow, orange, red, and purple are said to make the area even warmer and more inviting. We also want to demarcate the gravel surface with a ring of sandstones.
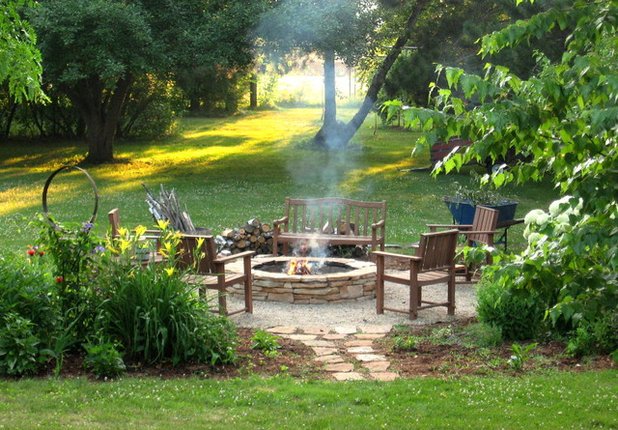
The view from the terrace shows the small access path in the garden that I laid out of leftover sandstones. In the coming season, cockade flowers (Gaillardia ✕ grandiflora) grow, but this year all work is done for now.
And now I’m looking forward to the stories of a campfire in the garden that my friends tell me while the fire crackles in the background. We are delighted with this fireplace!
RELATED ITEMS
-
Build a tree house in the garden yourself – with instructions!
Building, designing, renovating – do it yourself with the DIY magazine: tools and machines in the test, creative ideas for your home and practical ones…
-
Playground in the garden ideas – temobardz home blog
Playground in the garden Ideas Create a playground in the garden – 3 ideas for creative parents 2 No garden playground without play equipment Play equipment is allowed…
-
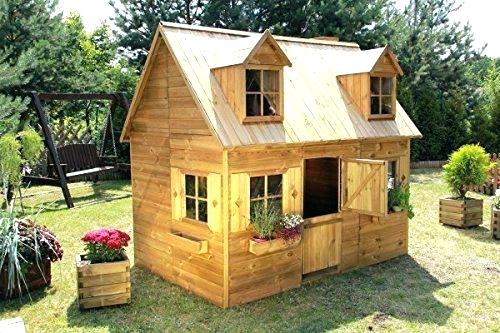
Children’s house build instructions
The renovation of the old town hall can be completed in May 2019. With the completion of the construction measure, the construction and finance management will move on….
-
Playhouse blueprint, build yourself in the garden with building instructions
A play house blueprint makes it very easy to build your own wooden house. Many fathers or families take on this task and challenge…