If you are an artist, you know that a high-quality easel is essential for the design of works of art.
There are a number of easels that you can buy online. In our guide you will find excellent models for professional use. Such professional easels pretty quickly cost money.
It is different if you yourself hand want to put on. If you need something really tailor-made, or if you are skilled in craftsmanship and have fun building it yourself, these instructions on how to build your own easel are just right for you.
1. Easel for stencil work
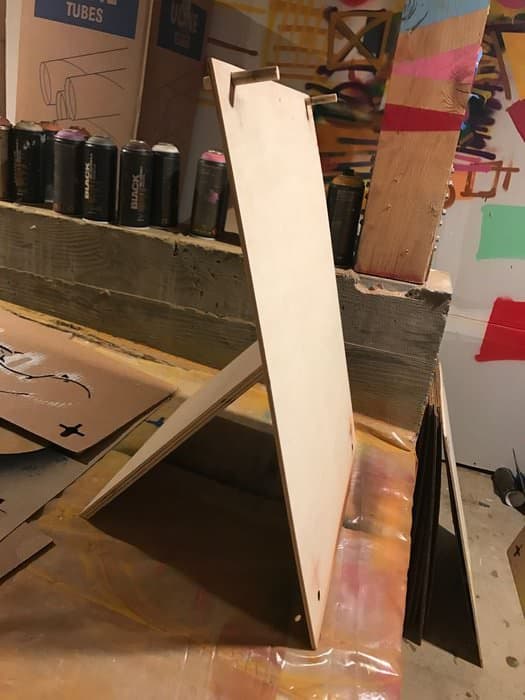
If you like to use templates for art and sketches, this is the perfect do-it-yourself easel for you.
Spray paints are designed to be sprayed in an upright position – not vertically while bending down on a desk.
You will also find this a lifesaver if you often work on several pages and levels at the same time.
Depending on the size of your canvas, you may need to make some adjustments so that each layer is aligned correctly.
To do this, all you need is some plywood, wooden dowels, glue, and something to support the frame.
The creator of the guide also suggests weighting down the easel after the glue dries to ensure a strong hold.
2. Build a hanging easel yourself

With old wood paneling you can make this useful and aesthetically pleasing hanging stand.
It can be extended or retracted to hold artworks of all shapes and sizes.
The designer used some sandpaper, a saw, screws, a hand drill, dowels and wood glue.
Construction and installation only took four hours for him, which shouldn’t take long for beginners in the home improvement scene.
Make sure that you mount the easel at the correct height so that you can take a comfortable stand with different media.
3. Build an uncomplicated easel yourself

If you’re in a bind and need a quick fix, this project will show you how to make an easel out of things you already have at home – a ladder, tape, and some old boxes.
Just break the boxes apart and cut them because you only have one page using. Make sure you glue a Canton stand to the bottom of the box so you can position the canvas on it.
Then put up the ladder and glue the cardboard to the steps.
To dismantle, simply remove the adhesive tape and fold in the ladder.
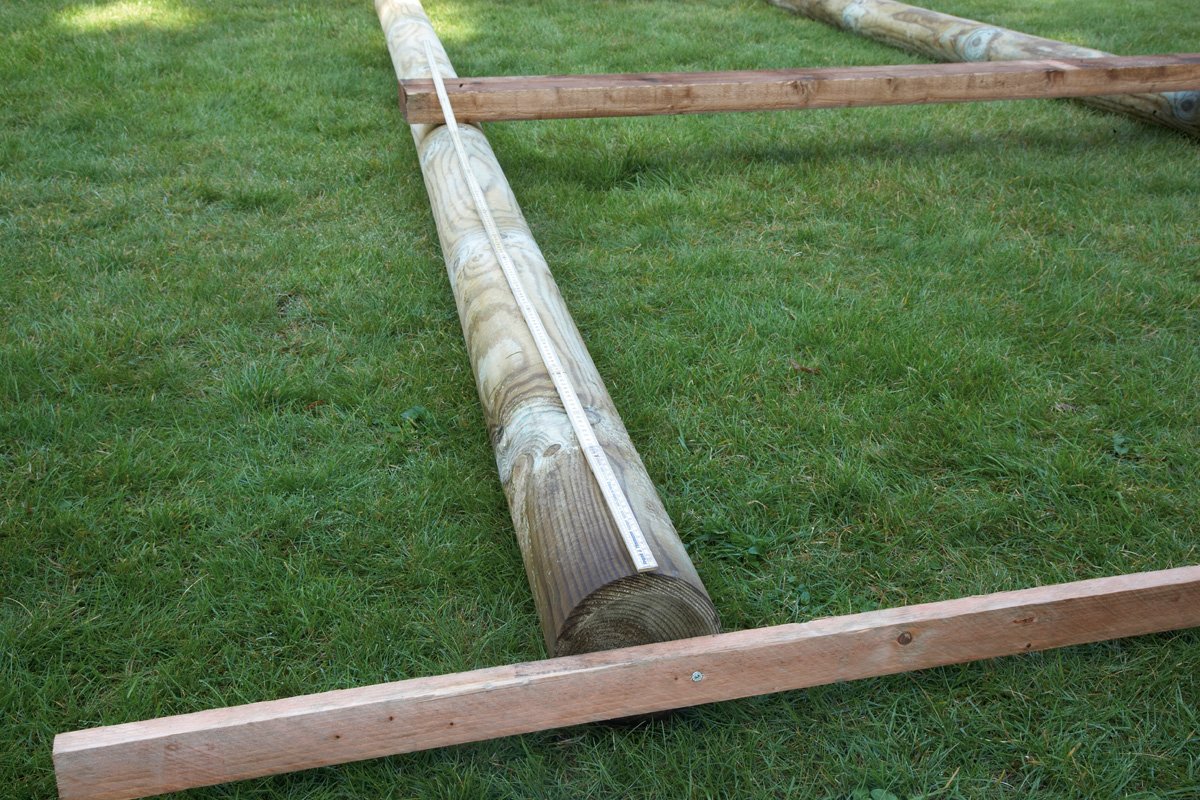
4. Basic blueprint of an easel

Build this detailed guide to the easel yourself, how to make a model in different sizes.
The materials – pine wood, a dowel, a few screws and cord – are inexpensive and the construction time is at most half an hour.
The cord helps to keep the feet upright, as they can be easily folded flat to save space.
If you have no experience with saws or drills, keep in mind that the holes must be drilled in exactly the right place so that everything is properly aligned.
Finally, you can glaze the wood with wood protection to give the easel the right finish.
5. Turn a tripod into a home-made easel

If you are interested in photography, you may have a tripod at home that is lying around unused.
If so, you can turn it into a picture stand by shaping a piece of wood into a new bracket.
Cut another piece of wood to the right length to create the back and you’re done!
Due to the differently adjustable legs you can align your tripod easel at the right angle.
6. Instructions for an adjustable easel

Perfect for a painting class or your own studio, this easel is extremely customizable and not particularly difficult to design.
This DIY requires a lot of materials and tools, but is definitely worth the effort. The builder himself explains that it was a challenge, albeit a great way to take his home improvement skills to a new level.
This steel easel is very robust, surprisingly light and doesn’t take up much space.
The designer welds most of the components together. You can also work with pipe connections that you can find in the hardware store. Two matching, adjustable pipe clamps on it and your easel is ready for use.
7. Build your own easel for children
If you want to build an easel yourself that is suitable for children, you are well served with this project.
If you do, this guide will cost you almost nothing to construct.
You’ll also need a chain, door hinges, saw, screwdriver, sandpaper, and a planer.
He also made a design on paper to get exact measurements. You may have to adjust this design to determine the exact size that fits yours offspring are appropriate.
To achieve a more natural and rustic look, this easel was only sealed with a little wax.
RELATED ITEMS
-

Wollzeitmama: build your own kitchen from the ikea shelf
Crochet, scrapbooking and other handicrafts Pages Tuesday, August 19, 2014 Build your own children’s kitchen from an Ikea shelf Our little daughter has been playing since…
-

Build a car bed yourself? Why is that, when there are enough, quite cheap to buy? Quite simply: many car beds sometimes match…
-
Build a tree house in the garden yourself – with instructions!
Building, designing, renovating – do it yourself with the DIY magazine: tools and machines in the test, creative ideas for your home and practical ones…
-

Building instructions play house, build play house yourself, play house paradise
"Building instructions play house" is a frequently used search term when it comes to wanting to build a house for playing children in their own garden….