
Summer is just around the corner and with it the warm sun rays. So that our small We sew dwarves suitably dressed in the heat today a light and airy summer dress made from the new trend fabric and my absolute favorite: muslin! Due to its loose weave, it is breathable and therefore perfect for any kind of summer clothing.
Our children’s dress has a beautiful neckline, which is pulled through with a muslin ribbon and creates a sweet gathering on the front and back. The ribbon is knotted on one of the two shoulders and can be made to any length.
preparation
You need:
- minute 0.5 m muslin fabric
- scissors
- ruler
- pen
- Sewing machine or overlock
- our children’s dress size chart

Difficulty level 1/5
The children’s dress is also suitable for beginners
Cost of materials 1/5
For 1 m of muslin you pay around EUR 12 – EUR 18
Time expenditure 2/5
approx. 1 – 1.5 h
muslin
One or the other may know muslin from cloth diapers and comforters for babies. The product can also be found in the kitchen, to help filter sauces or jellies.
Muslin gets its particularly fine texture from the delicate knotting of the front and back. Small air cushions are created in the chambers between the two layers, making the fabric pleasantly soft and fluffy. These airy properties help ensure that muslin clothing also has a cooling effect on the skin and softly hugs the body.

Most online shops now have their own categories with muslin fabrics or double gauze. Available in all kinds of colors and patterns, the fabric usually costs between EUR 12 – 18 EUR per meter.
IMPORTANT: Before sewing, muslin must be washed and dried once, as it only gets its typical crumpled shape when wet!!
Create your own pattern
Since our summer dress is cut very straight due to the softly falling muslin, you can either cut the fabric without a pattern, or draw a pattern on paper and use it as a template.
Using the following sketch, I will show you which length and width the two pieces of fabric should have.

Size chart children’s dress
| length | Wide chest | Wide hem | Wide neck | Distance arms | |
| Size 74 | 46 cm | 34.5 cm | 53 cm | 32 cm | 10.5 cm |
| Sizes 80-86 | 48 cm | 36 cm | 54 cm | 33 cm | 11 cm |
| Sizes 86-92 | 50 cm | 37 cm | 55 cm | 34 cm | 11 cm |
| Sizes 96-104 | 53 cm | 38 cm | 56.5 cm | 35 cm | 12 cm |
The seam allowance is already included in all sizes!
ATTENTION: Before you start sewing the children’s dress, the muslin fabric must be washed and dried once. Due to the particularly loose weave of the fabric, it contracts after washing and thus gets its typical “crumpled” look. Also do not iron after washing, otherwise it will become smooth again and contract again at the first moisture. This could make the children’s dress too small.
Step 1: First of all, the two pattern parts and distances are drawn on the muslin fabric with the pen. It is up to you whether you transfer a pattern to paper beforehand or draw everything directly on the fabric with the ruler.
2nd step: Then cut out the front and rear part with the fabric scissors.

3rd step: So that the children’s dress gets a nice gathering on the neck, we need a band of fabric, which we will pull through the previously sewn tube in the neck area. To do this, we cut a piece of muslin approximately 80 cm wide and 4.5 cm long. The ribbon can also be cut a little longer, so a larger stitch can be tied on the shoulder.

Sew children’s dress
To sew muslin fabric, there are a few small points to consider:
- When sewing with the straight stitch of the sewing machine, a stitch length of approx. 3-4 is recommended. The longer the stitch, the nicer it adapts to the weave of the material. With smaller stitch lengths, the fabric around the seam may contract further.
- The best way to process muslin is with the overlock machine. If suitable thread is available, the fabric ends can also be sewn with it and no further hemming is necessary.
- Even if a hem is sewn, no wobbling is necessary. The fabric frays very little and can also be hemmed with the straight stitch.
Step 1: For the side seams on our children’s dress, we first lay the front and back of the dress on top of each other, right and right, and pin the two sides together with pins or wonder clips. We make sure that we leave out the armholes – these are not sewn together. The whole thing can now be sewn with the zigzag stitch or straight stitch of the sewing machine or the overlock machine.

2nd step: So that the summer dress looks nice, the armholes can either be sewn once with the overlock (as in our case), or we fold approx. 1.5 cm of the fabric inwards (left to left) and quilt with a straight stitch around the armholes around. Both types go fast and look great with muslin fabric.

3rd step: For the tube we need for the neckline, we fold the edges approx. 3 cm inwards and pin the fabric with needles. Here too, the straight stitch is used to sew from one side to the other, so that there is an opening at both ends.

4th step: Now it is the turn of the muslin ribbon for the neckline: To do this, we put the prepared fabric together on the long edge right to right and pin the entire length. Now we sew both sides together using the straight stitch or the overlock machine.

5th step: Turning the ribbon requires a lot of practice! I like to use a pen or ideally leftover chopsticks from the last Chinese meal to pull the fabric through. Usually, however, you have to slowly pluck the material with your fingernails at the turning opening.
6th step: The turned tape is now stitched again at both ends and any fringes are removed with scissors. So that we can thread it through the neckline, we attach a safety pin to one end. We are now slowly pushing these through the hose.

7th step: At the bottom of the dress we now have the option of sewing a hem or attaching a ribbon. For the hem, fold the fabric approx. 2.5 cm inside out on the left and quilt once around the lower part of the dress.
At home I found a decorative ribbon that goes well with our summer dress: I now pin it with needles or wonder clips and attach it to the children’s dress with the straight stitch. Decorative ribbons or bias ribbons are available in all well-stocked shops.

Our summer dress is ready and ready for the first use! As always, we hope you enjoy sewing!
“>
RELATED ITEMS
-

Knit baby dress – instructions for a children’s dress
The time for sweet dresses begins with babies. No wardrobe should be missing when the little girl is born at the…
-
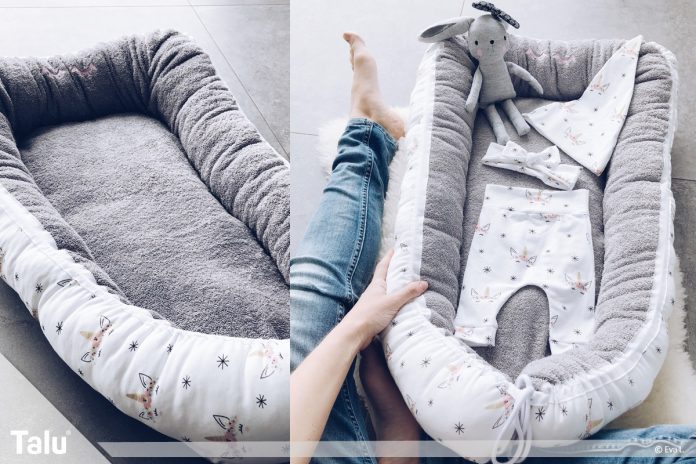
Sewing a nest – free instructions for a baby nest
After the birth, all mothers want their child to feel at home in the new environment. One of the many things that help is one…
-
Utensilo sewing ideal for beginners sewing instructions
Sewing a utensil silo is one of the first sewing projects for many beginners. It is easy because you only have straight seams and sewing smooth ones,…
-

Magic nift: children’s pants – Japanese cut
Pages May 6th, 2014 Children’s trousers – Japanese cut Finally I made it again a pair of trousers according to the tried and tested cut from one of my…