Personal envelope with your photos

We love stylish stationery. Accordingly, just about all things that can be made from paper. This definitely includes beautiful greeting cards and matching envelopes. We also want to prove that you can do it yourself today in our DIY article on personalized envelopes. We can guarantee you that the joy of the recipient is great when he opens your envelope and sees the lining with your photo.
This is needed:
- Wrapping paper
- photo
- Old envelope
- Transparent Paper
- scissors
- ruler
- Pencil with eraser
- glue stick
 The best thing about this tutorial: You can design the envelopes yourself. Just look for a nice wrapping paper. In the best case, the wrapping paper is a bit matched to the photos to be used later. If you have a restless photo, where a lot is going on, we would recommend a rather quiet pattern with the wrapping paper. It works just as well the other way round: calm photo paired with wild pattern. Of course, the colors of the photo and wrapping paper should harmonize well. With a black and white printout of your photo, you can do almost nothing wrong. However, you should make sure that your photo in the envelope is folded once longitudinally. At this kink, better no important elements like the eyes of the object should run.
How to do it:

- Make a template for the photo
First, it is necessary to make a template for the lining. You just take a used envelope whose shape you like best. Above it you put a sheet of translucent paper and trace the outline of the open envelope. Then you cut out the recorded outline of the envelope.

- Transfer the stencil to the photo and crop the photo
You can now put your transparent template on your photo, trace it and cut it out. The fact that you used tracing paper in the previous step now benefits you. Through the transparent paper you can clearly recognize the subject of the photo and mark an ideal outline. It is quite enough for the quality, if you print out the photo on simple printer paper before. By contrast, a photo developed in the laboratory would be too strong for our project. The size of the photo depends of course on the size of the envelope to be tinkered.

- Make template for the envelope
Now you can carefully loosen the old envelope at the glued together spots. A thin ruler, a pair of scissors or a knife from the kitchen will help. Alternatively, you can also look at a sketch in the net and draw the envelope yourself. Then cut the wrapping paper.

- Glue in the photo as a lining
In the next step, you paste the photo into the envelope with the help of a simple glue stick.

- Fold the envelope
Now all sides of the envelope are folded inwards. The folding edges you can tighten carefully with the ruler. Finally, all you have to do is glue the bottom flap to the side tabs.

A personalized envelope with your own photo makes it great for bridal greetings cards for special occasions such as Christmas, birthday, wedding or baptism. But grandma and grandfather would certainly be happy at any time about a personal letter from the grandchildren. We always make several envelopes at once. So you always have the right envelope ready for the occasions.
Related Posts
-
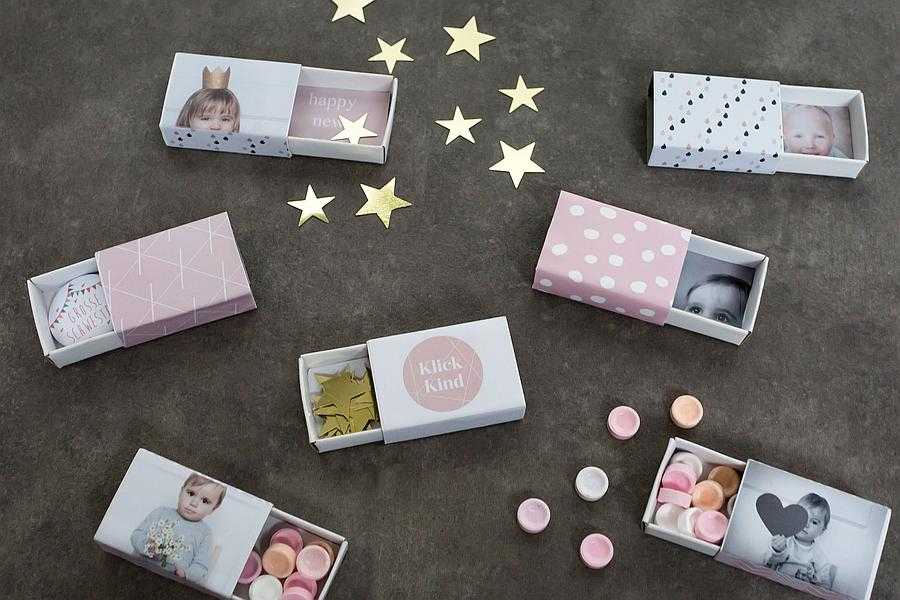
Decorate your matchboxes with your own photos
Design matchboxes with your own photos Sometimes you look for a little attention as a gift or as a present. With our crafting idea of the personalized…
-

Interview with Kathrin Stahl: photos are love letters to your children
Interview with Kathrin Stahl: Photos are love letters to your children Child and wedding photographer Kathrin Stahl says: “Time with children is…
-

Tips for your christmas photos
Tips for your Christmas photos Christmas time is always a special time for families . This time full of contemplation, anticipation, tradition and just…
-

Your most beautiful holiday photos powered by clixxie
Your most beautiful holiday photos powered by clixxie advertising The holidays are slowly coming to an end and most of us remember relaxing, exciting and…